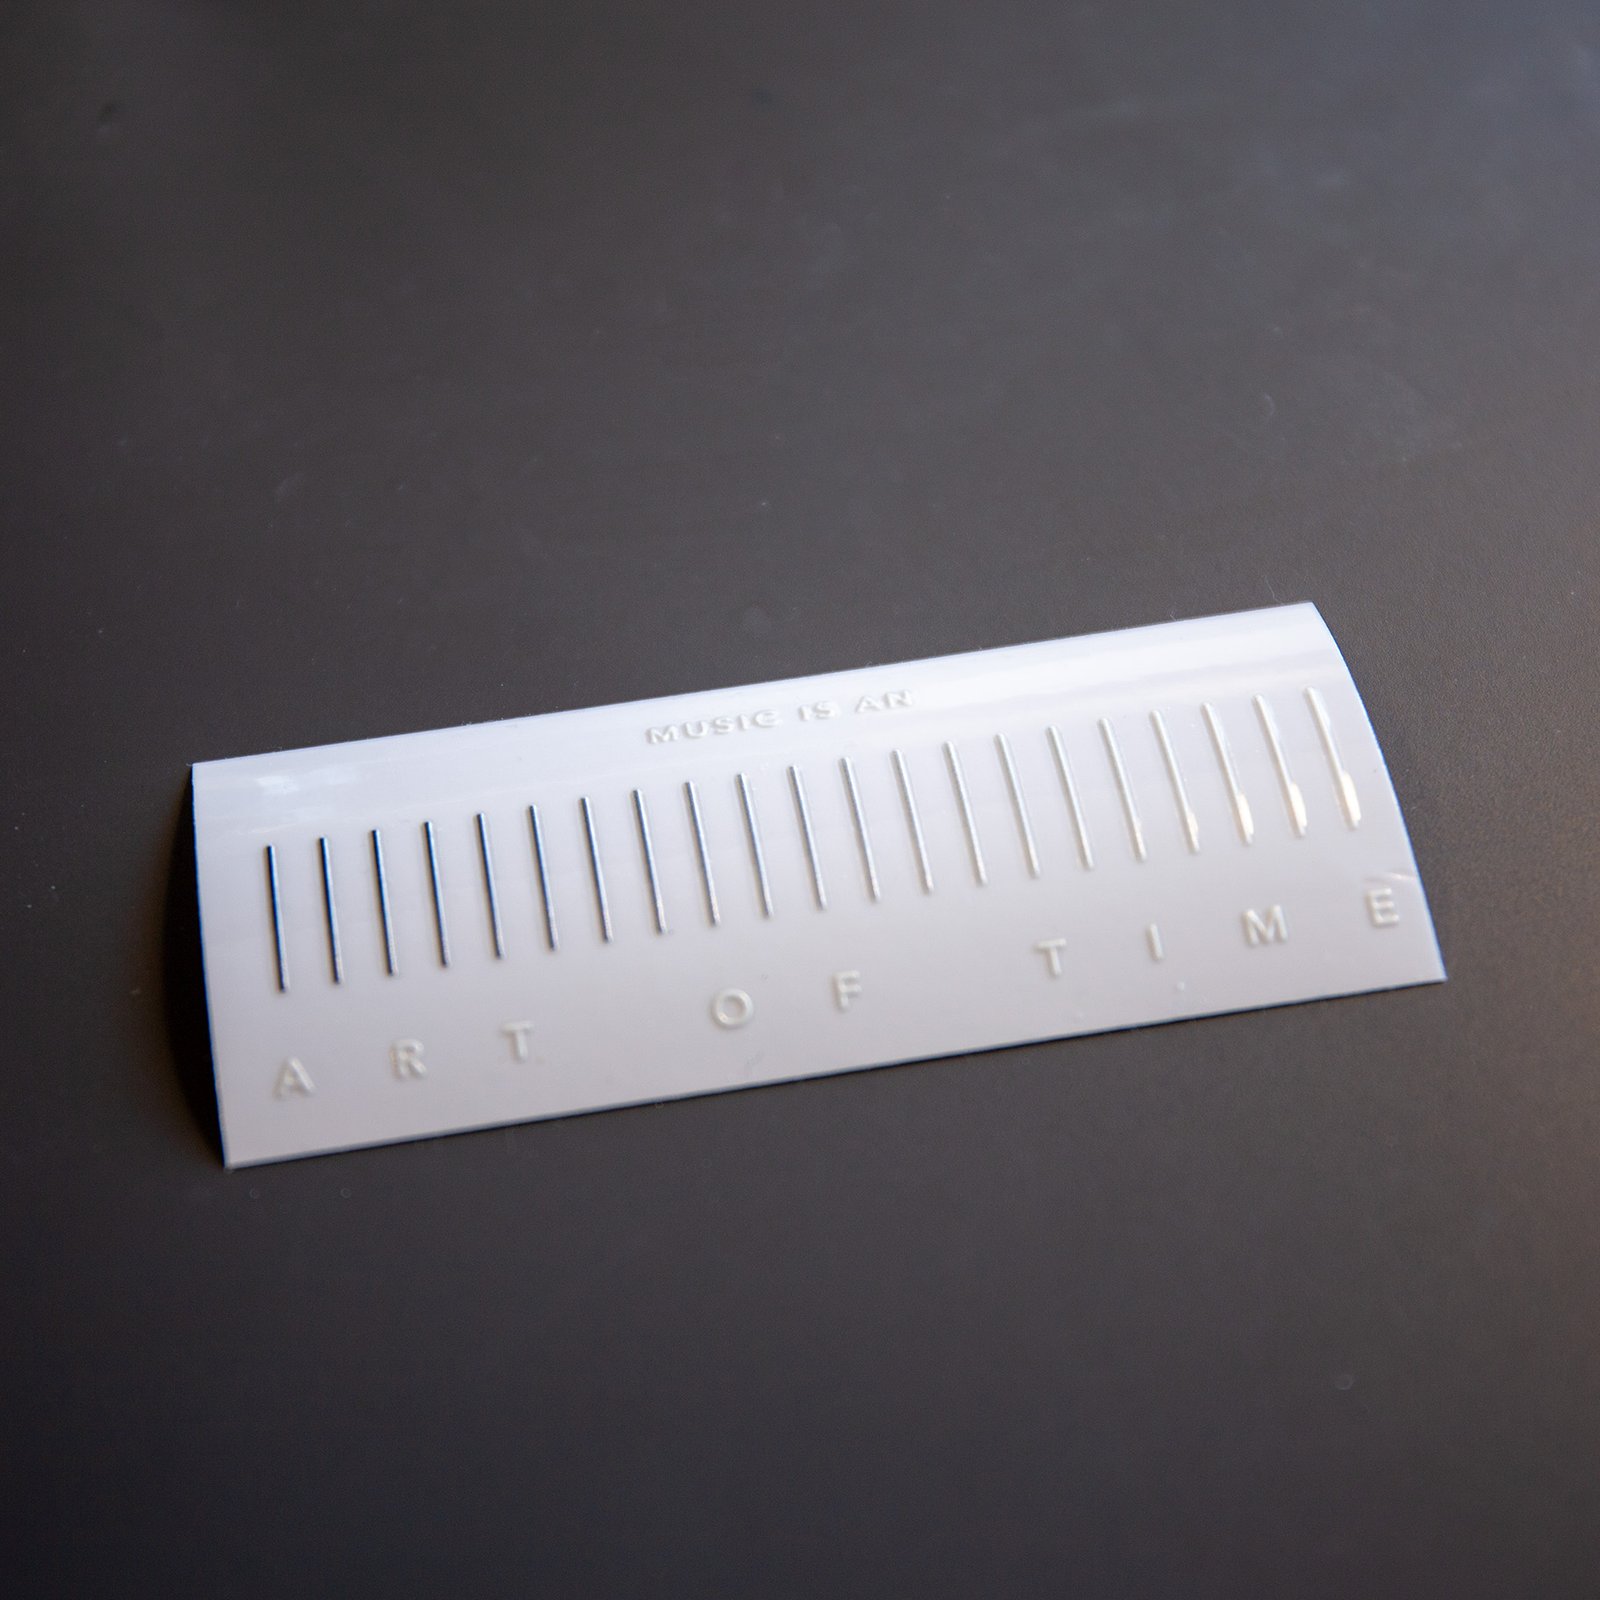
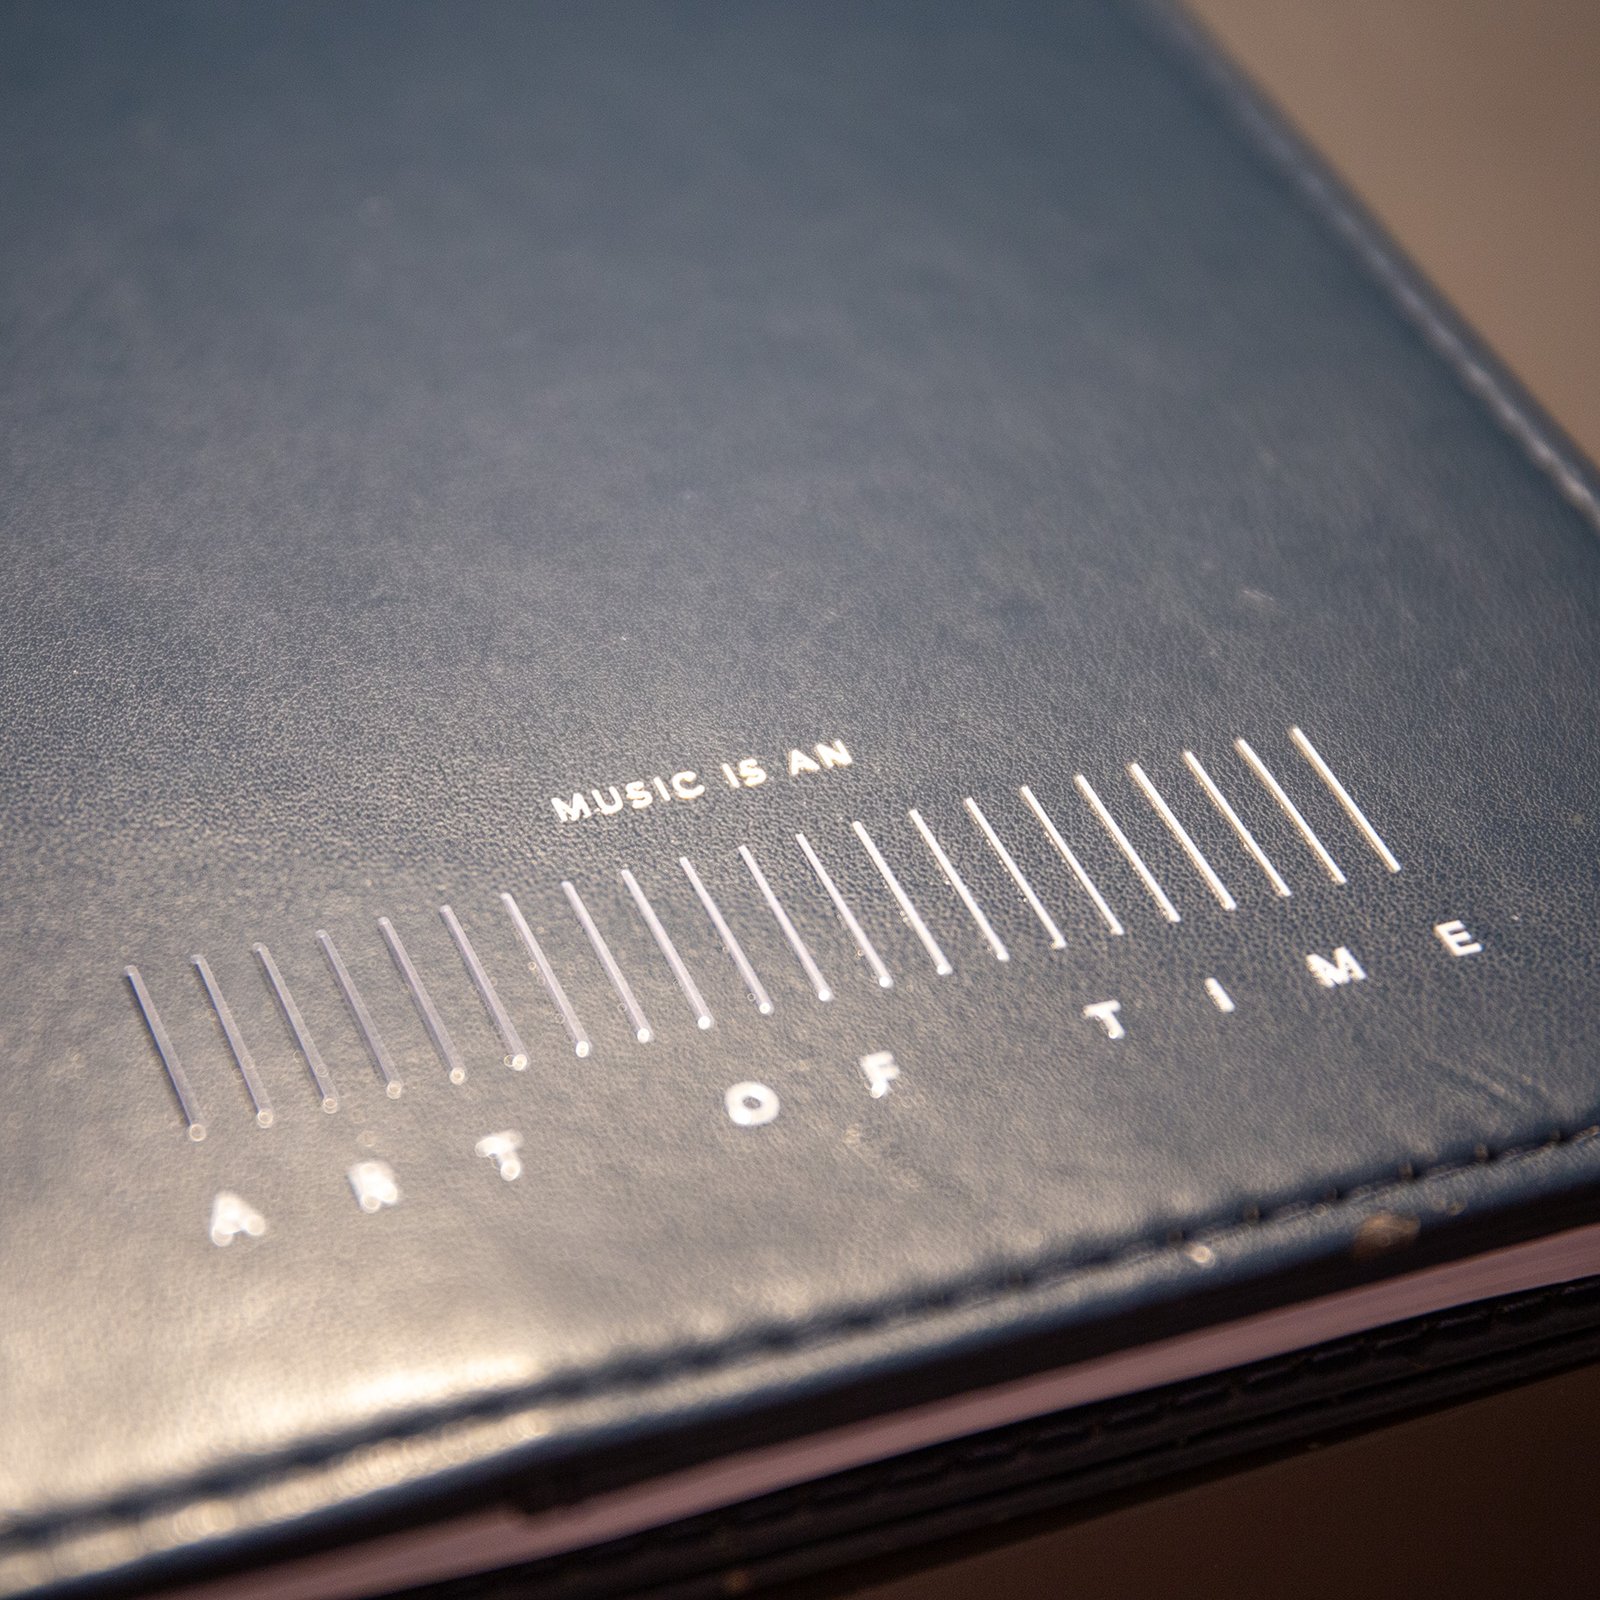
Your sticker can be applied to any hard surfaces such as laptops, water bottles, instrument cases, and more!
Step 1: Clean the Surface – Make sure the surface is dry, smooth, and free of dust or oil.
Step 2: Apply Pressure – Press down on the printed design before peeling to ensure proper adhesion.
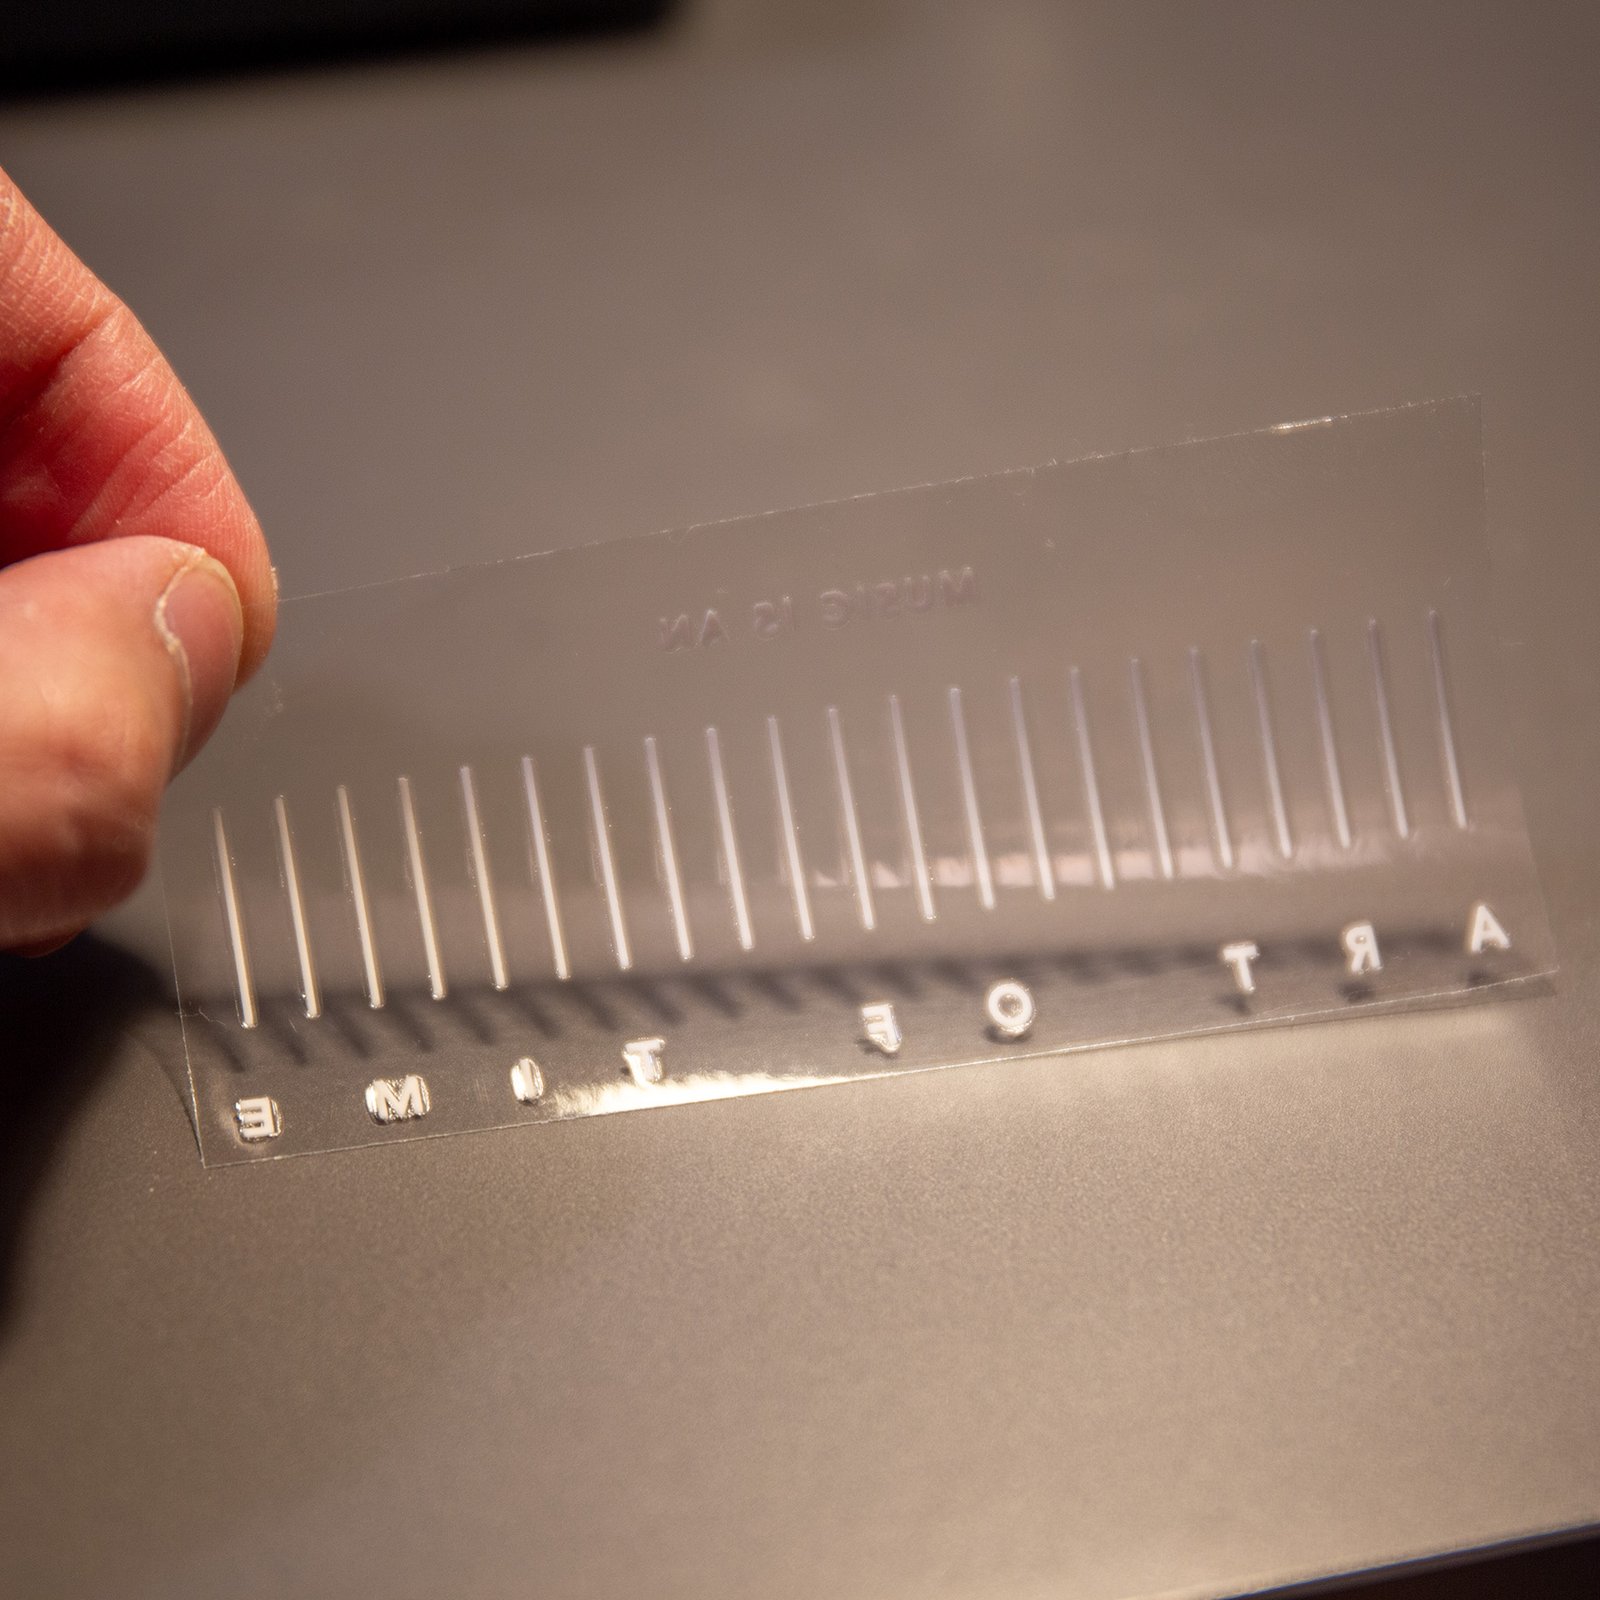
Step 3: Peel with Care – Slowly remove the backing paper, making sure the decal stays attached to the clear transfer tape. If it doesn’t, press it back down and rub firmly with a squeegee or credit card before peeling again.
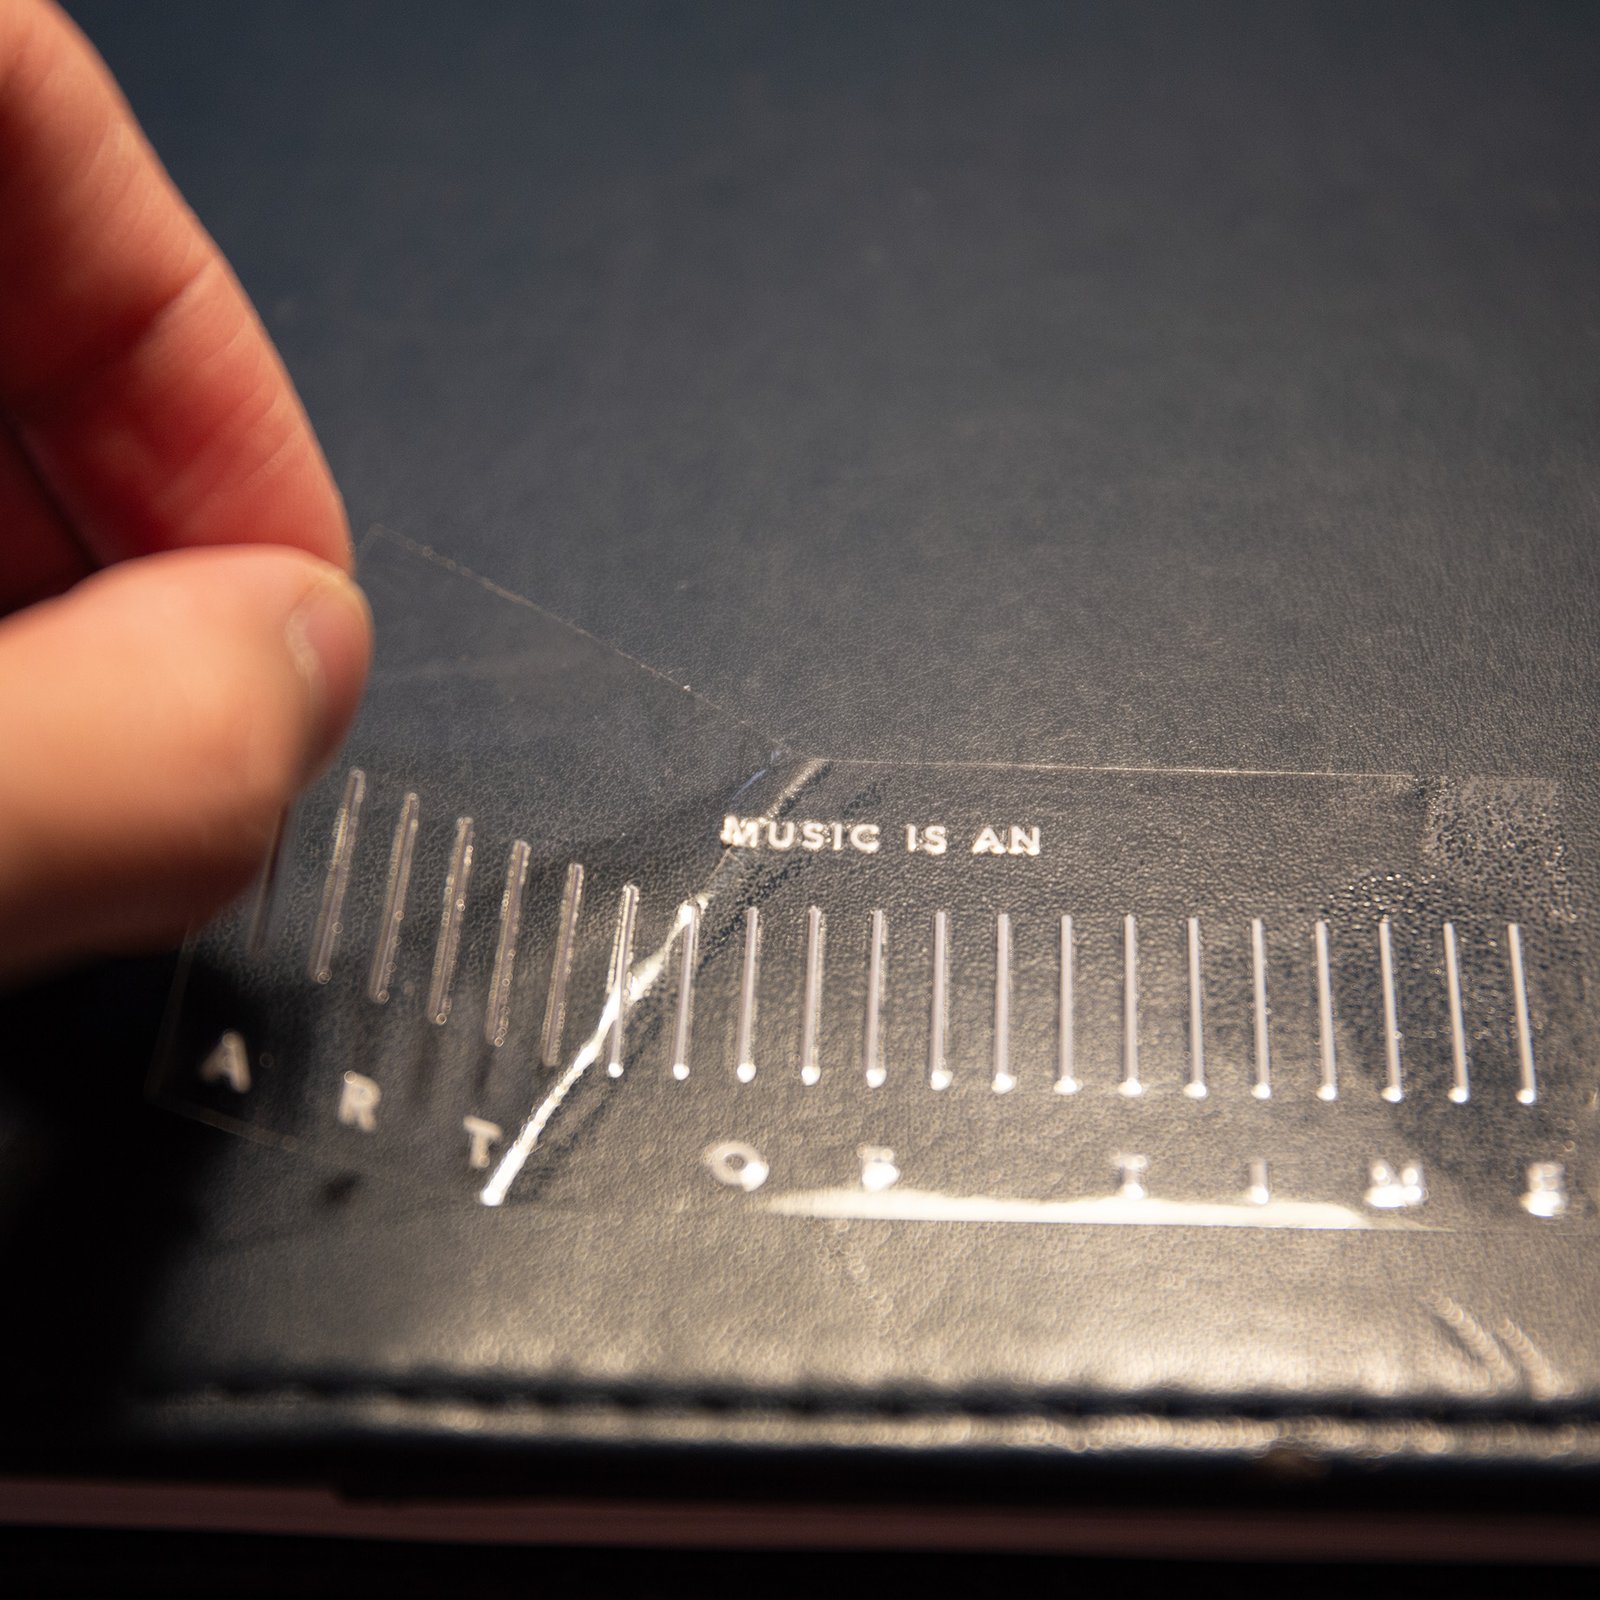
Step 4: Position It Right – Align the sticker before pressing it down. Once stuck, repositioning is tricky!
Step 5: Press Firmly – Press the decal onto the surface from one side to the other, smoothing it with a squeegee or credit card.
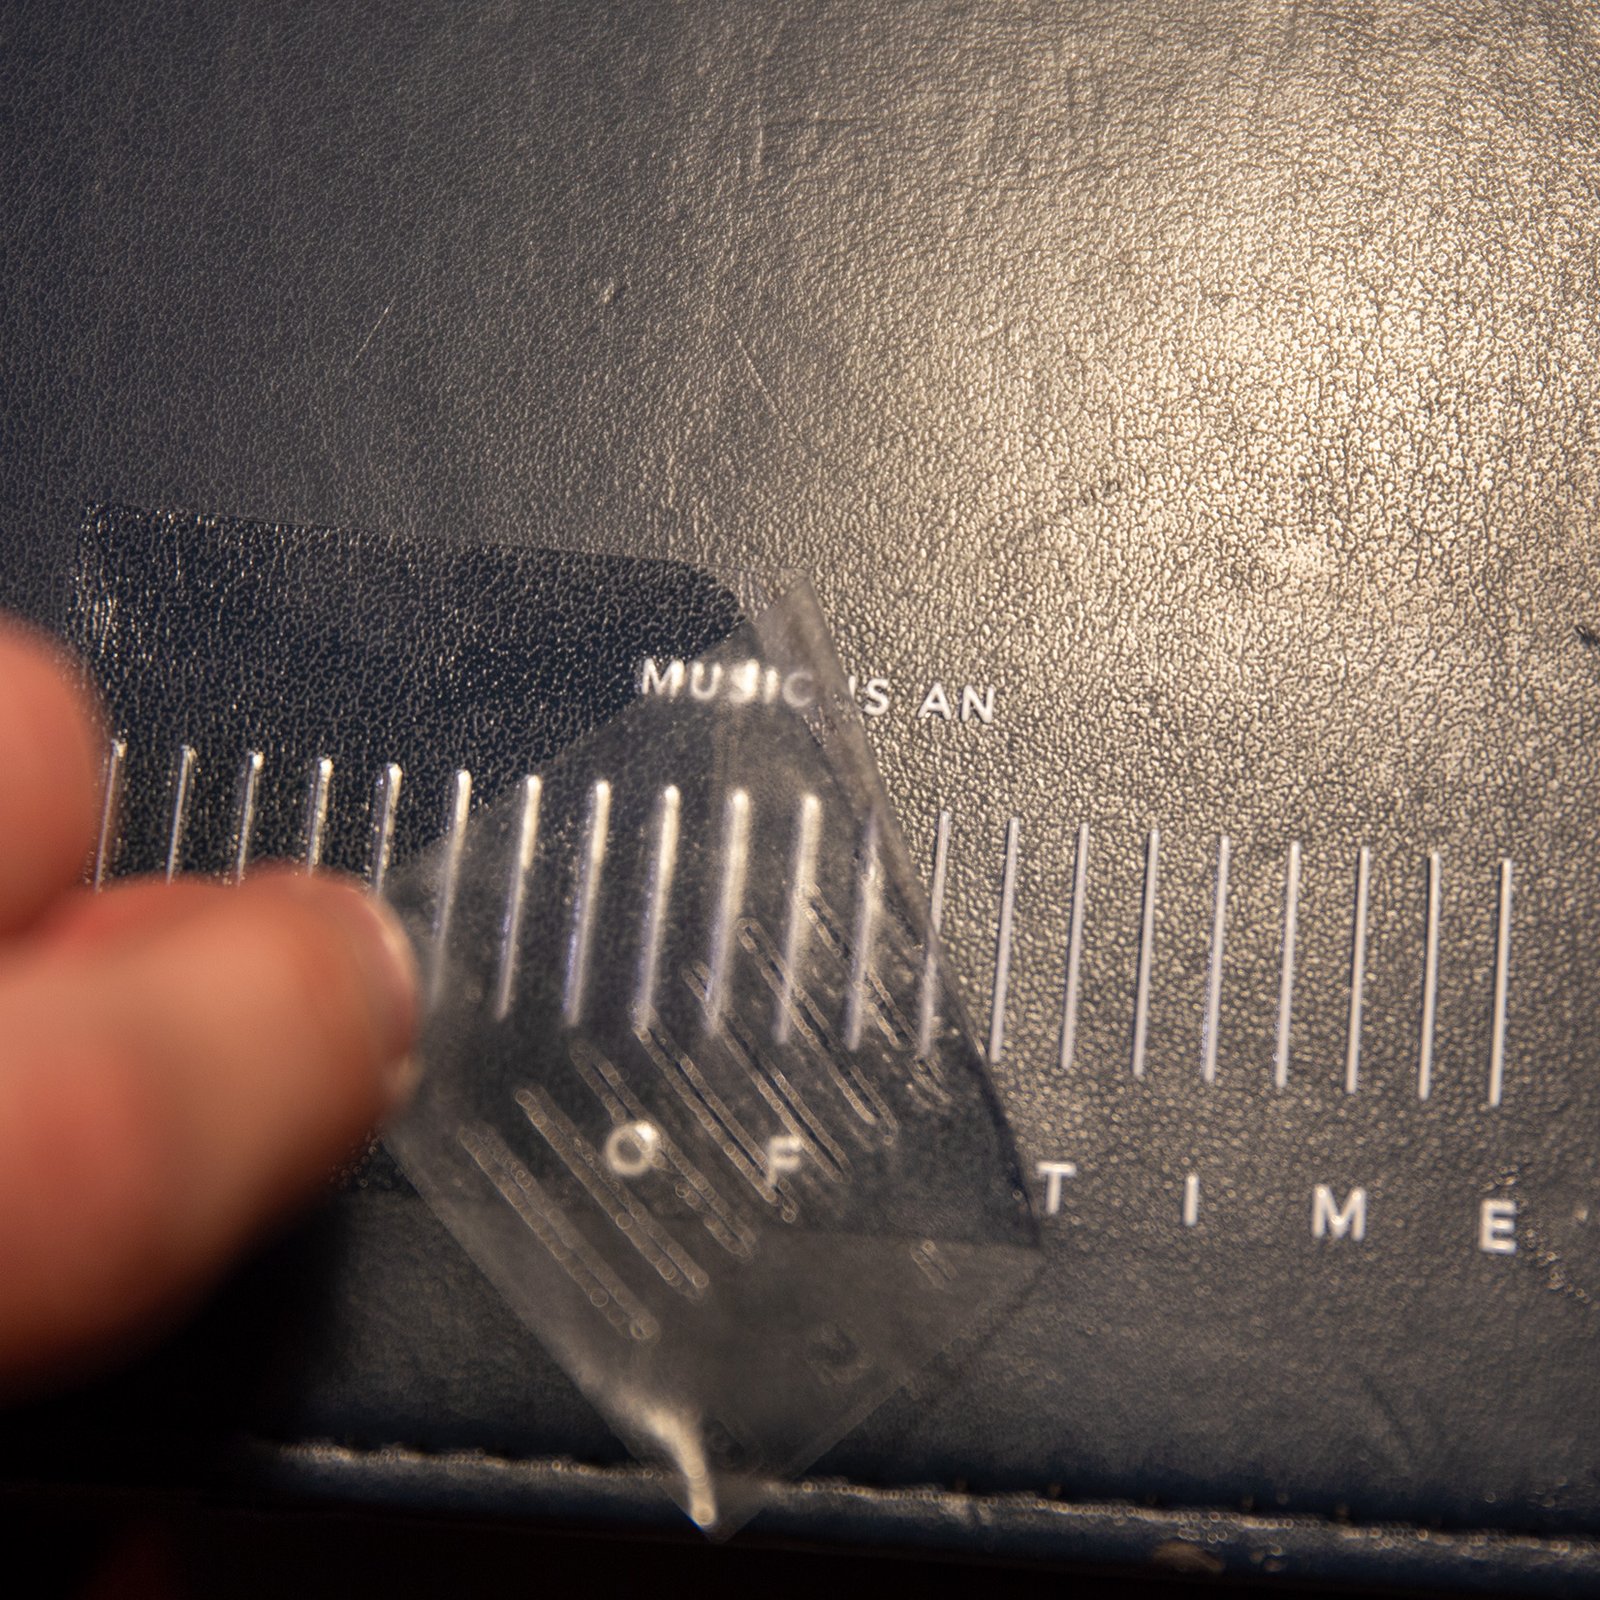
Step 6: Peel the Transfer Tape – Carefully peel off the transfer tape at a sharp angle, pressing down any lifted edges.
Step 7: Let It Set – Apply pressure to the decal and let it set for a few hours before washing (if applied to a water bottle).